Watch the setup video first
Prepare and connect your WhatsApp number
Read these instructions before connecting. The right option depends on whether your number is currently used in normal WhatsApp or the WhatsApp Business mobile app.
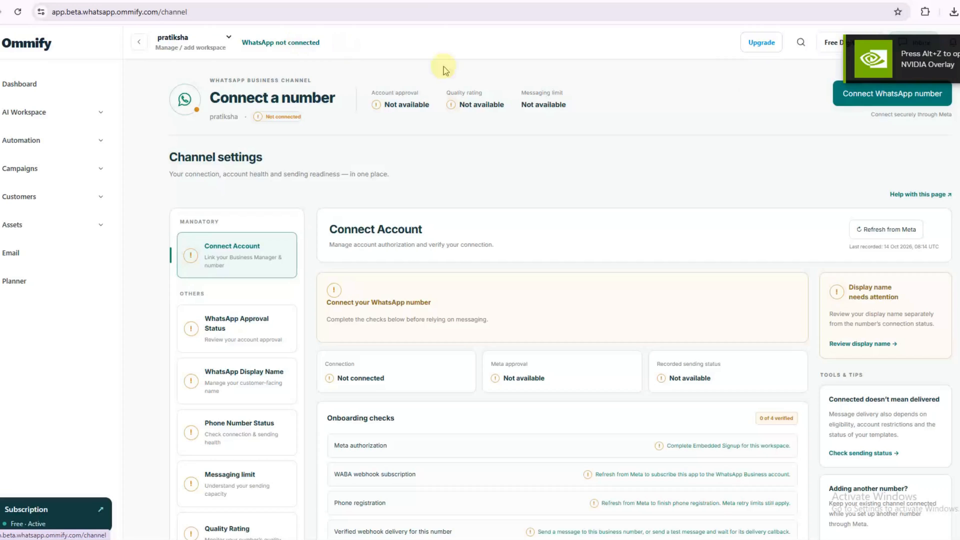
Follow these steps
Open Channel → Connect Account and select Connect WhatsApp number to start the Meta connection.
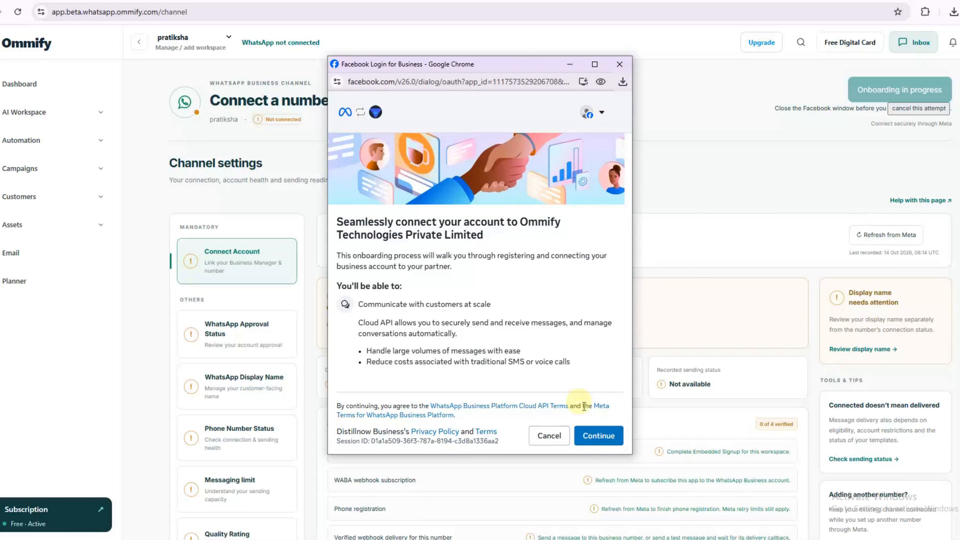
Review the Ommify and Meta permissions, then select Continue.
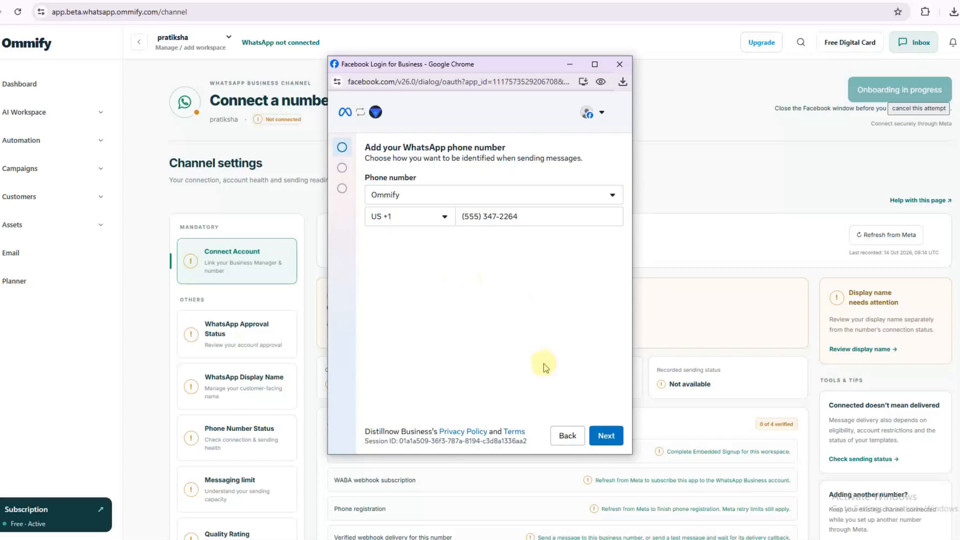
Add the WhatsApp phone number: choose the business, country code and phone number, then select Next.
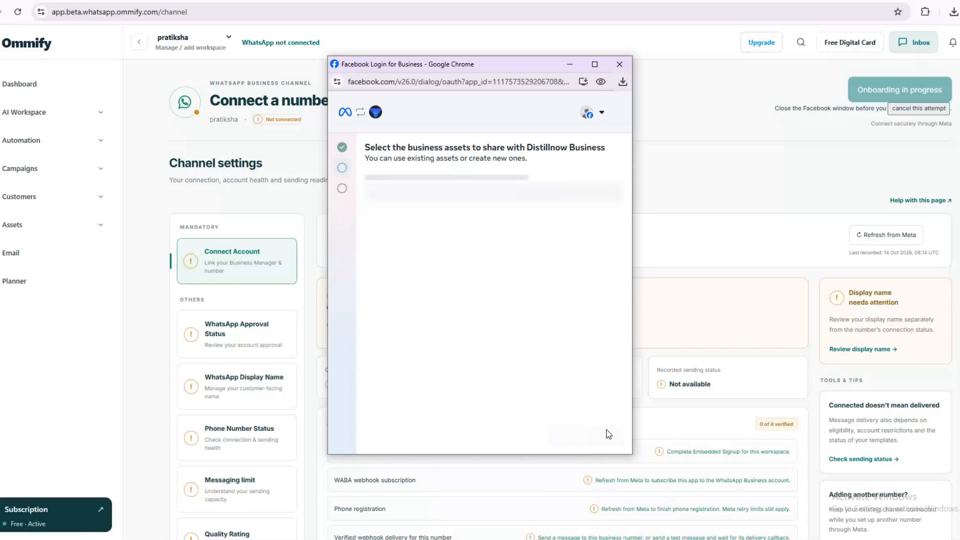
Select the business assets to share with Ommify Business. Continue when the correct assets are selected.
Confirm the Business portfolio and WhatsApp account shown by Meta.
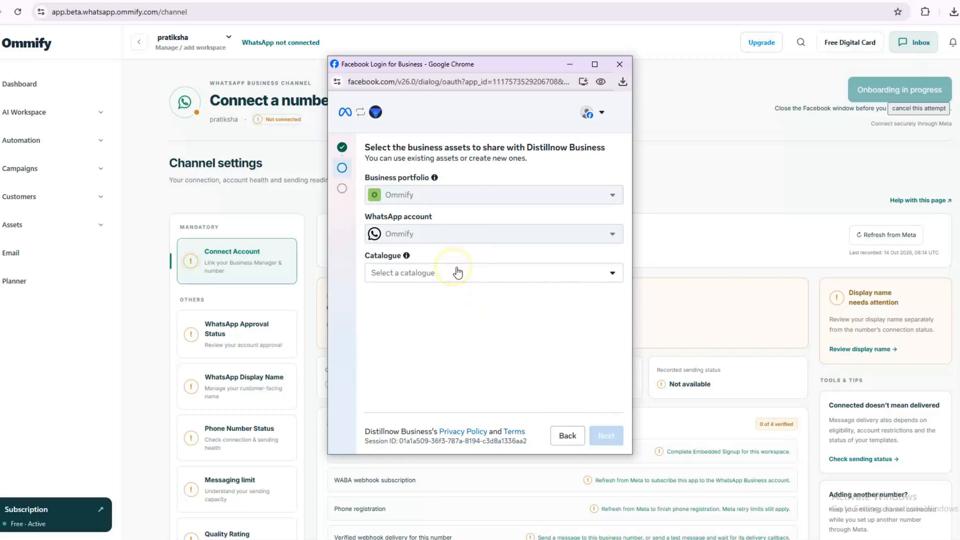
Select the catalogue when Meta asks for one. If no catalogue is available, create or select the correct catalogue before continuing.
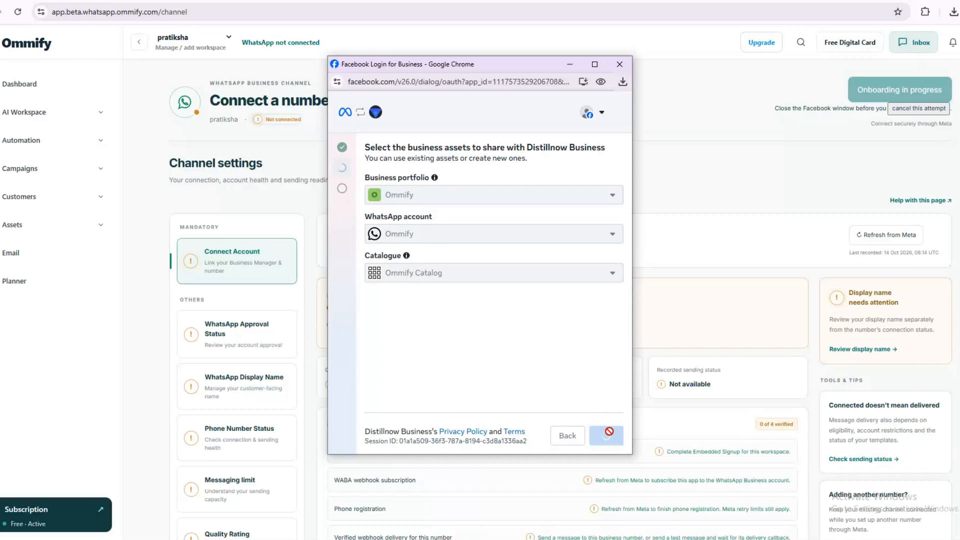
Wait while Meta connects your account. Keep the Meta window open and do not close the Ommify tab.
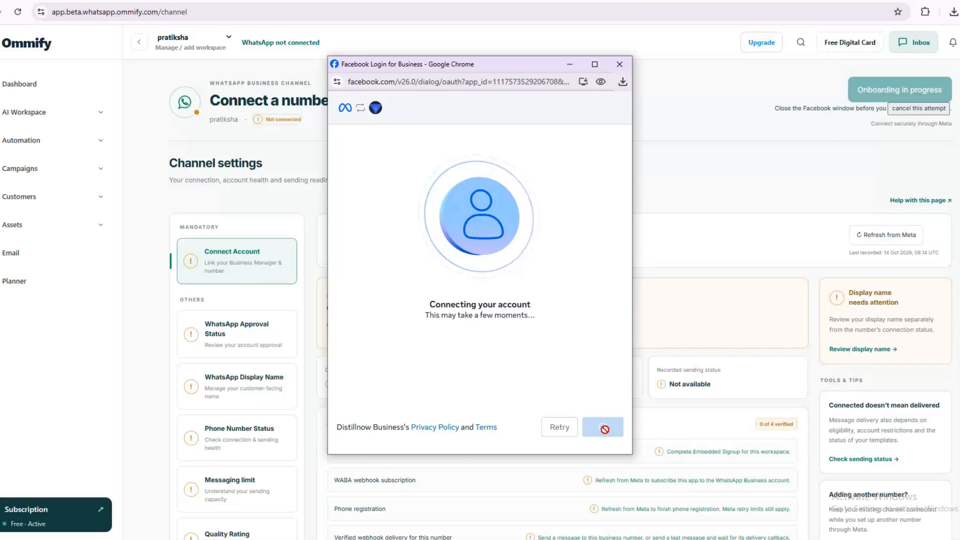
If the connection remains on the loading screen, wait for the process to finish or use Retry only when Meta offers it.
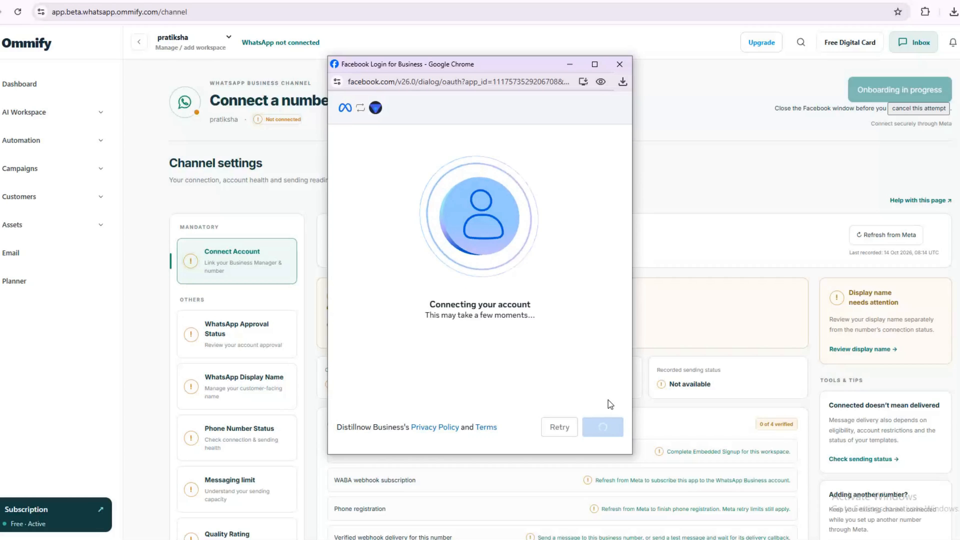
After Meta completes, return to Ommify and wait while the connection is saved.
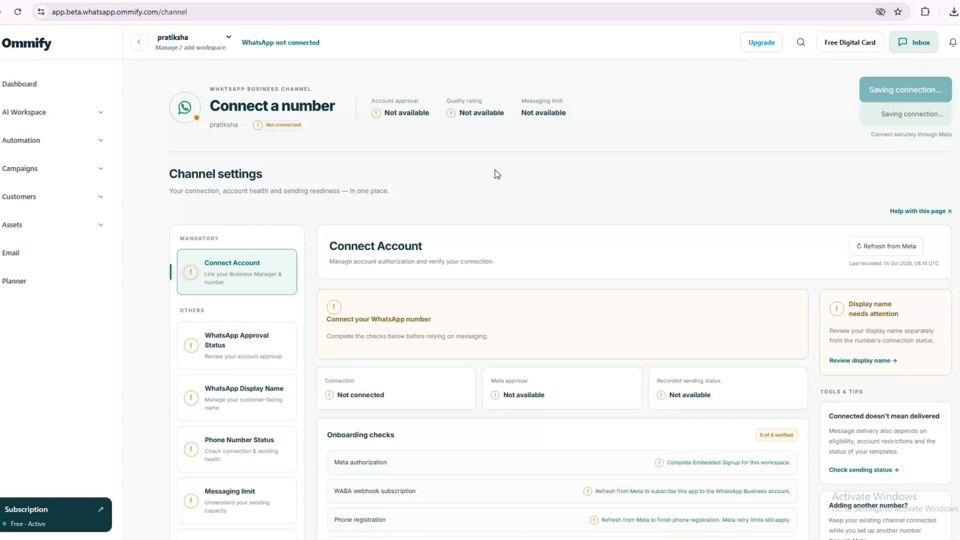
A successful connection may still show provisioning. Allow time for Meta and webhook synchronization to complete.
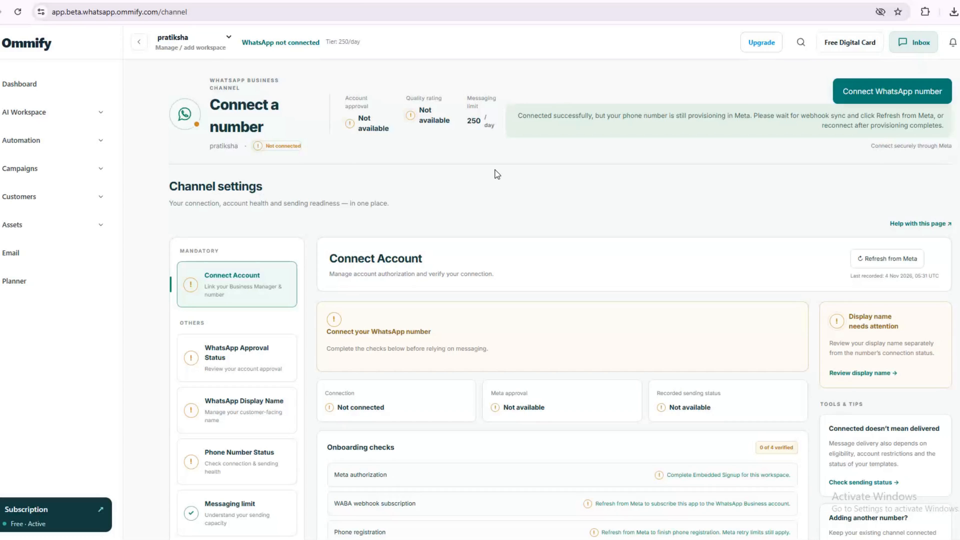
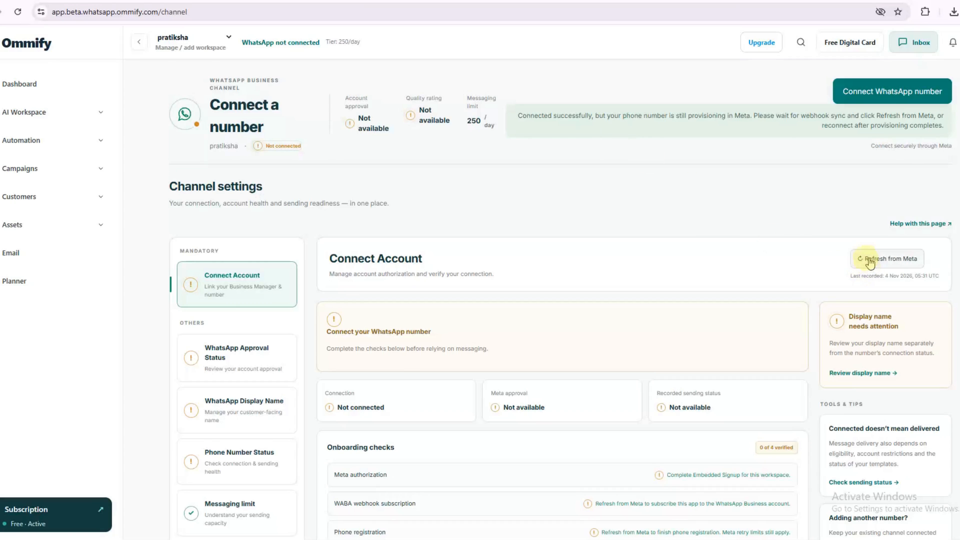
When provisioning is complete, use Refresh from Meta to retrieve the latest account status.
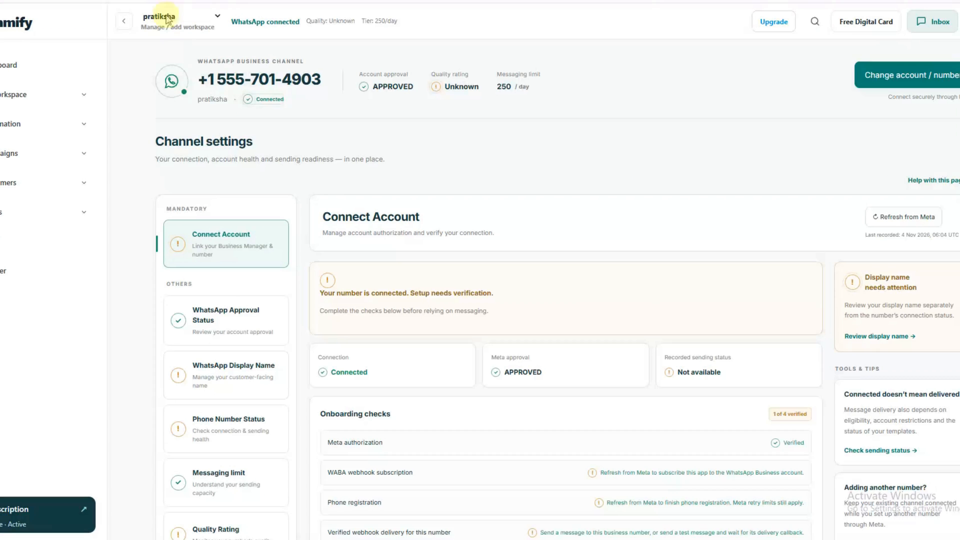
Confirm that the account is connected and review approval, messaging limit and onboarding checks before sending messages.
Common issues
Sign in with the Facebook account that has admin access to the correct Meta Business portfolio.
Review the Normal WhatsApp and WhatsApp Business options above. Follow Meta's migration or removal instructions before trying again.
Confirm the country code and number, then try SMS or voice verification after resend is available.
FAQs
Switch to WhatsApp Business first so you can keep using the same number with the WhatsApp Business mobile app, where Meta supports the connection method.
No. If you already use WhatsApp Business, connect the existing number directly when Meta confirms it is eligible.
Back up your chats before changing apps. Direct registration may require removing the existing Messenger account and can affect access to its chats and features.
Facebook admin access, the correct Meta Business portfolio, business details, a working phone, and access to the registered number for SMS or voice verification.